Australia
  New Zealand
  United States
 Using the Merchant Portal
Getting Started with the Zip Merchant Portal
The following instructions detail how to get started using the Zip Merchant Portal.
This documentation assumes you’ve already been accepted as a Zip Partner and have been allocated a Zip Merchant Portal Login – see here for details on how to become a Zip partner!
Using the In-Store Terminal
Other Merchant Portal Functions
Creating a Zip Order using the In-Store Terminal (For enabled merchants only)
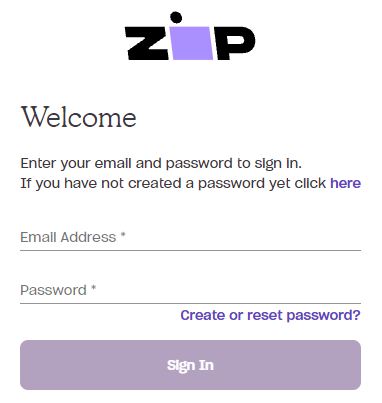
- Login to the Zip Merchant Portal – a link to the Merchant Portal exists in the Customer Portal for easy access
- Head over to the ‘In-Store Terminal’ at the top of the page (please note that this function is not enabled for all portal users)
- Fill out the fields accordingly and enter the ‘Zip In-Store Code’ provided by the customer
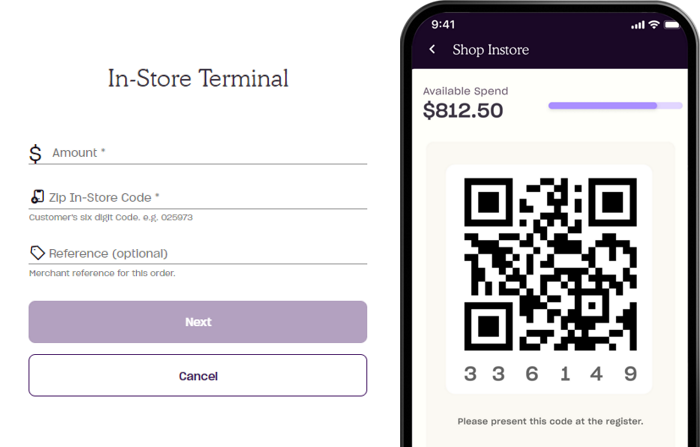
- Once you click ‘Next’ from the In-Store Terminal, the customer will see an ‘Approve’ button on their account
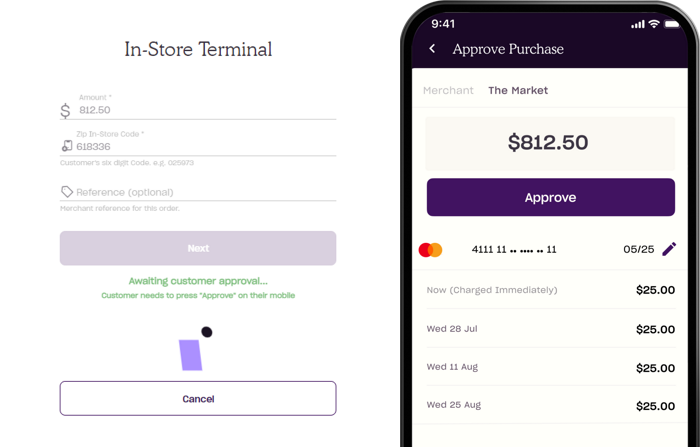
- After the approval, a confirmation page will display and the Zip payment is now complete!
Other Merchant Portal Functions
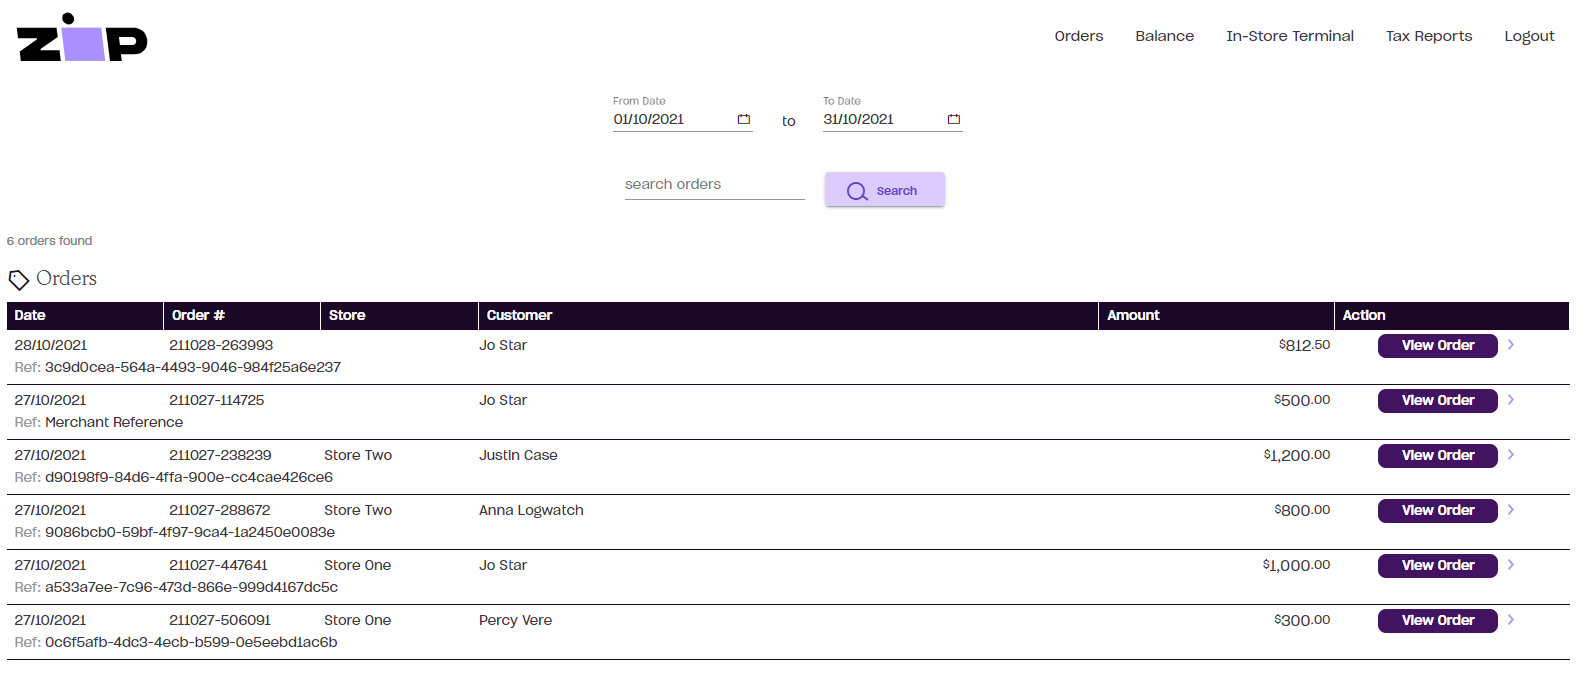
Orders
Displays a list of Zip orders
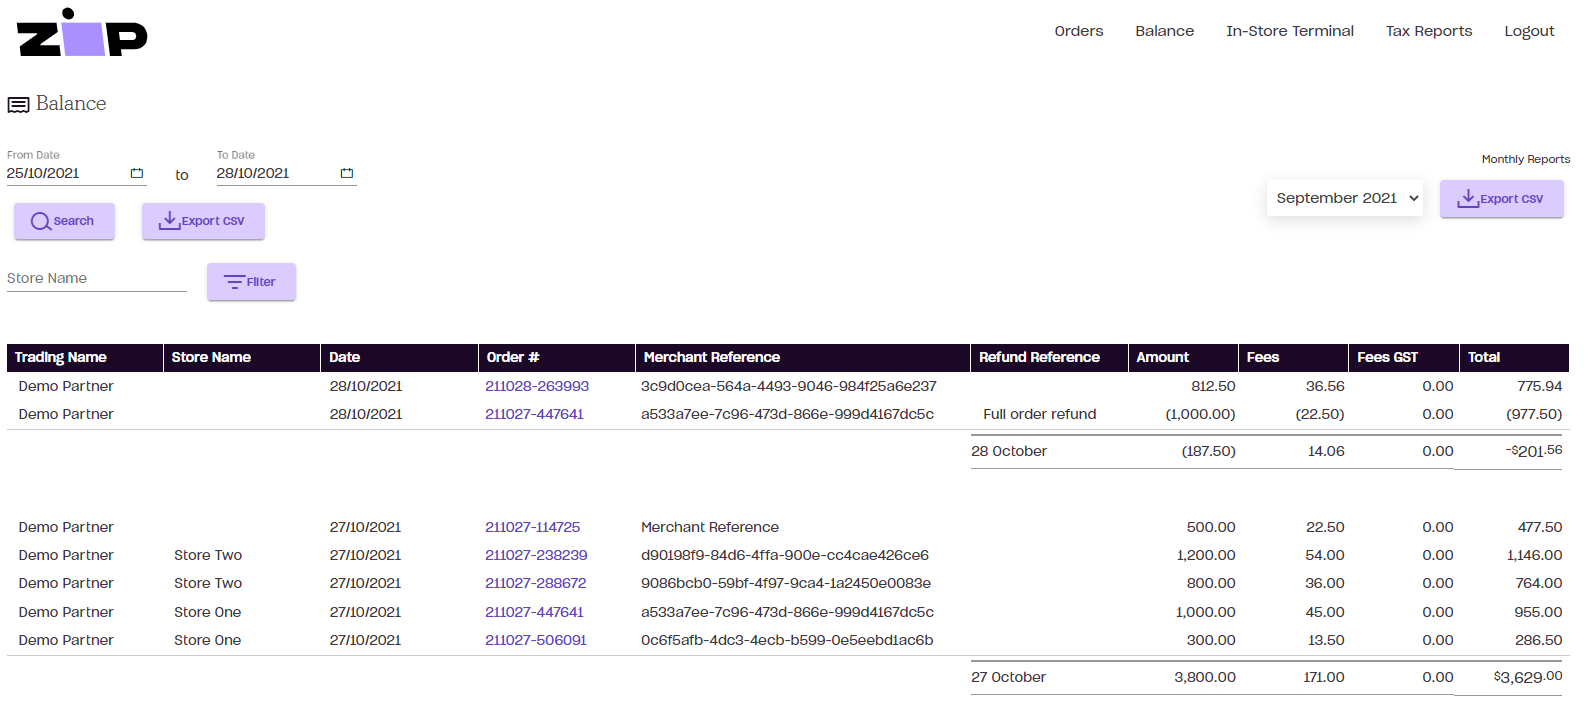
Balance
Displays a breakdown of payments made to you from Zip orders. Functionality to export this information as a .cvs file is also available with a max date range of 1 month.
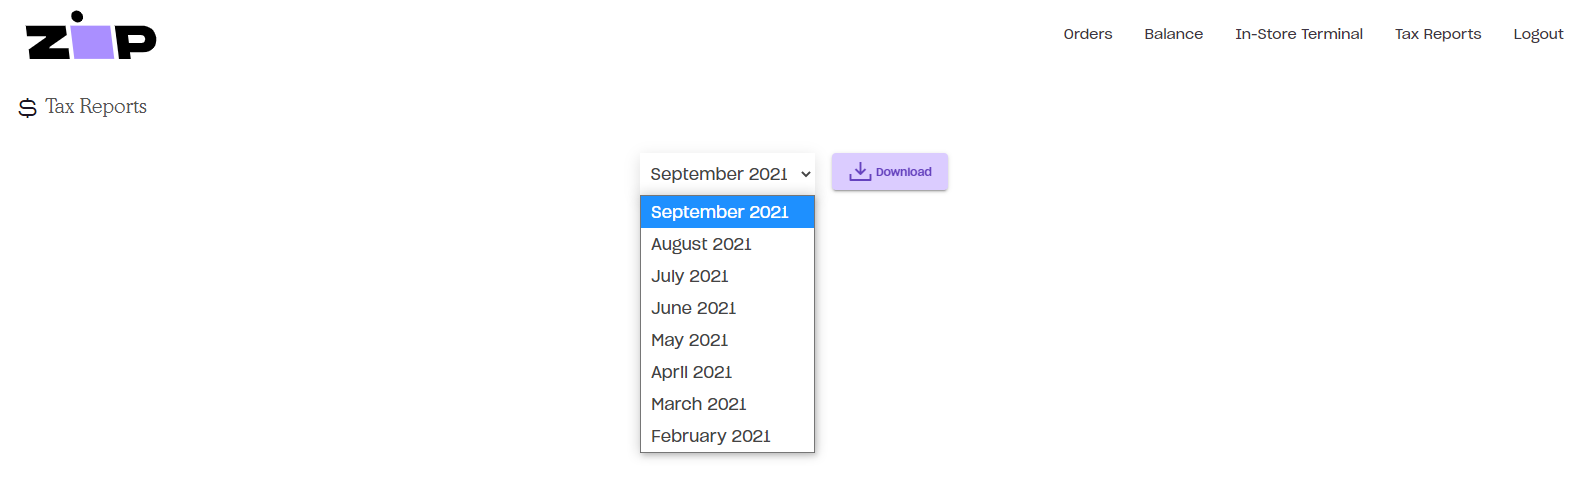
Tax Reports
Allows a .pdf export of monthly tax reports